In this project, a program that can load, and render OBJ files with precomputed ambient occlusion was developed.
During the development OpenGL 3.3 and GLSL are used. For loading OBJ files, and rendering, OpenGL Development Cookbook, and Braynzar Soft, Lesson 21: Direct3D 11 Loading Static 3D Models (.obj format) were referenced. Models were taken from Principia Mathematica, Inc.
Loading OBJ File
General information, and an algorithm for parsing OBJ files can be found on this page.
For rendering the models, interleaved buffer is used. Vertex, normal, UV coordinates, and AO values are kept, and sent to the GPU together. Additionally, before the values are put together, vertices are sorted with respect to their material for increasing the GPU performance.
Rendering and Light Calculation
Rendering process starts by reading models, and materials from the related files. After the whole necessary files are read, the textures related to materials are generated.
In the vertex shader, conversion from object space to eye/camera space is done. Also UV and AO information is sent to the fragment shader. In the fragment shader, color calculation is done. A movable point light is used as light source.
Averaging the Normals
If two faces reference the same vertex, the last face may overwrite the normal for that vertex. Thus, the look of the object can be different depending on the face order. By averaging the normals, this problem is solved.
The easiest way for averaging the normals is done in a straightforward way. Whole normals related with the current vertex are summed, and divided by the length of the whole normals. However, averaging the normals with respect to their area (as a weight) will produce better results.
|
1 |
avgNormal = (n1 + n2 + n3 + ...) / length(n1 + n2 + n3 + ...) |
If the normals are normalized before this operation, total number of the summed normals can be used directly for the division instead of calculating the length. For example, for 3 normalized vector, the formula turns into
|
1 |
avgNormal = (n1 + n2 + n3) / 3 |
For finding the normals that will be summed, we need to find whether the vertex is shared with other faces or not. For this task, a new data structure that keeps vertex, and related normal indices can be used. After we have this vertex, we can calculate averaged normals by looping through this data structure.
A more efficient way for finding adjacent vertices will be investigated in the future.
Ambient Occlusion
AO gives perceptual clues to depth, curvature and spatial proximity. It is simply a simulation of the shadowing caused by objects blocking the ambient light. Because ambient light is environmental, ambient occlusion does not depend on light direction, so it can be precomputed for static objects.
In traditional Ray Tracing AO, ambient occlusion is simulated by sampling rays from a certain point, which takes a shape of a hemisphere, and then the rays are checked for intersection with the scene. The percentage of the rays that do no hit any geometry (at a distance r ≤ R) is returned as occlusion factor.
For example, if we are using cosine-weighted hemisphere sampling, and launch 100 rays, and 60 of them do not hit the other polygons of the objects/models, then the occlusion factor will be 60/100 = 0.6.
Result of Raytracing AO, which is preprocessed for static objects, can be stored as occlusion (texture) map or in any other formats that we need. This result can be used to compute a fast approximation to diffuse shading in the environment at runtime.
AO was originally developed by Hayden Landis (2002) and colleagues at Industrial Light & Magic.
Precomputing AO
In this project, I used per vertex, per triangle calculation. The rays are shot from each vertex of the model(s) in the direction of cosine-weighted hemisphere. Occlusion factor is saved for each vertex of the model(s).
AO is calculated by solving the integral below over the hemisphere:

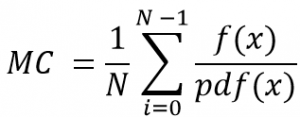
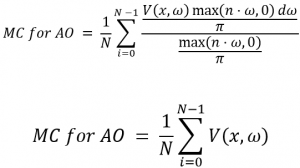
For approximating AO integral, I used Monte Carlo estimation (Figure-2). f(x) is chosen as AO function (Figure-3). For sampling the direction, PDF was chosen as cosine weighted hemisphere sampling (Figure-4), and the final equations have become as Figure-5:


Algorithm
- Get the point x
- Sample the direction
- Convert the direction into the world space
- Determine the length of the array
- Create the ray by using the point x, and the direction in world space
- Shoot the ray, and check for visibility. If it is visible, increase the AO factor
In the project, for calculating AO, for each vertex of each triangle, a direction is chosen, visibility of the ray in this direction at the vertex is traced, occlusion factor is calculated, and the results are saved into a file with a relation between the vertices.
For the next rendering, before calculating AO, first this file is checked. If the file exists, the values are read from it.
Generating Directions and Converting Them into the World Space
The code below is used for sampling a direction cosine-weighted hemisphere.
|
1 2 3 4 5 6 7 8 9 10 11 12 13 14 |
float r1 = rand() / double(RAND_MAX); // Random uniform number in [0, 1] range float r2 = rand() / double(RAND_MAX); // Random uniform number in [0, 1] range float theta = acosf( sqrt(r1) ); float phi = 2 * M_PI * r2; vec3 direction; direction.x = sinf(theta) * cosf(phi), // X direction.y = sinf(theta) * sinf(phi), // Y direction.z = cosf(theta); // Z direction = normalize(direction); return direction; |
For converting the direction into the world space, tangent, and bitangent vectors are needed. For calculating the tangent vectors, a new vector which is orthogonal to the current normal is generated. Then, the other tangent vector is generated by the cross product of the normal, and new vector.
The code below referenced from Nori renderer can be seen for this operation:
|
1 2 3 4 5 6 7 8 9 10 11 12 13 14 15 16 17 18 19 20 21 22 23 24 25 |
// n is the normal at the point x // s,t are tangent vectors // Calculate tangent vectors if ( std::abs(n.x) > std::abs(n.y) ) { float invLen = 1.0f / std::sqrt(n.x * n.x + n.z * n.z); t.x = n.z * invLen; t.y = 0.f; t.z = -n.x * invLen; } else { float invLen = 1.f / std::sqrt(n.y * n.y + n.z * n.z); t.x = 0.f; t.y = n.z * invLen; t.z = -n.y * invLen; } s = cross(t, n); // Calculate the direction in world coordinates vec3 newDir = s * direction.x + t * direction.y + n * direction.z; |
Ray-Triangle Intersection
For ray-triangle intersection, Möller–Trumbore intersection algorithm is used. This algorithm is simple, and fast because of not precomputing the plane equation.
The algorithm first check whether the ray is parallel to the triangle or not. This test is followed by checking whether the intersection lies outside of the triangle or not.
If the ray passes all these tests, the intersection point is calculated and returned.
Results
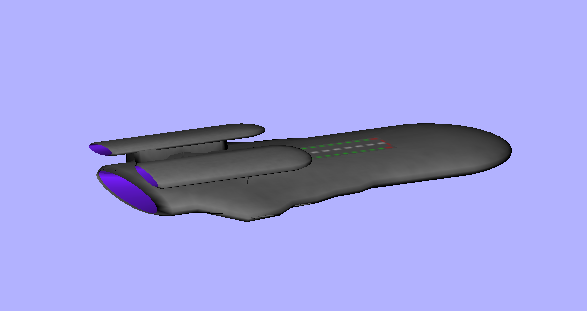
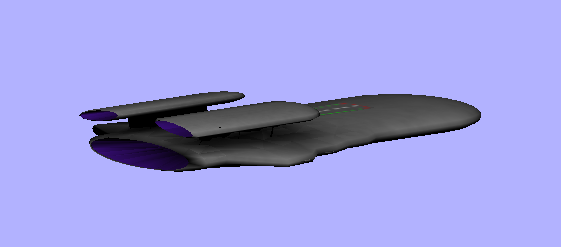
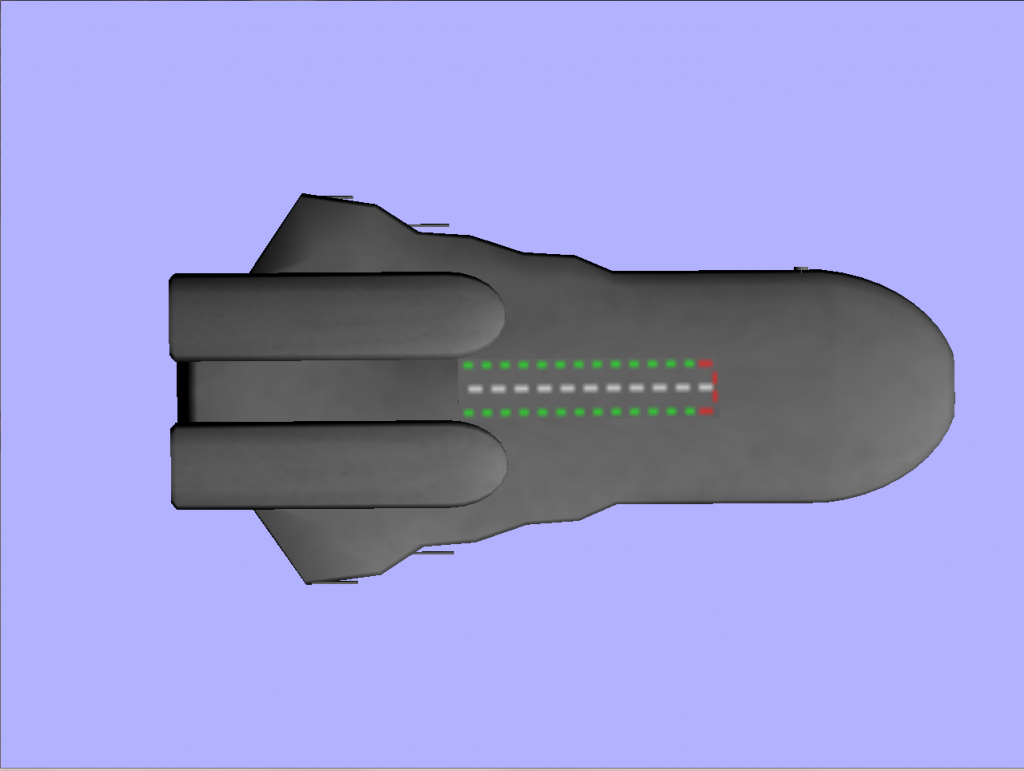
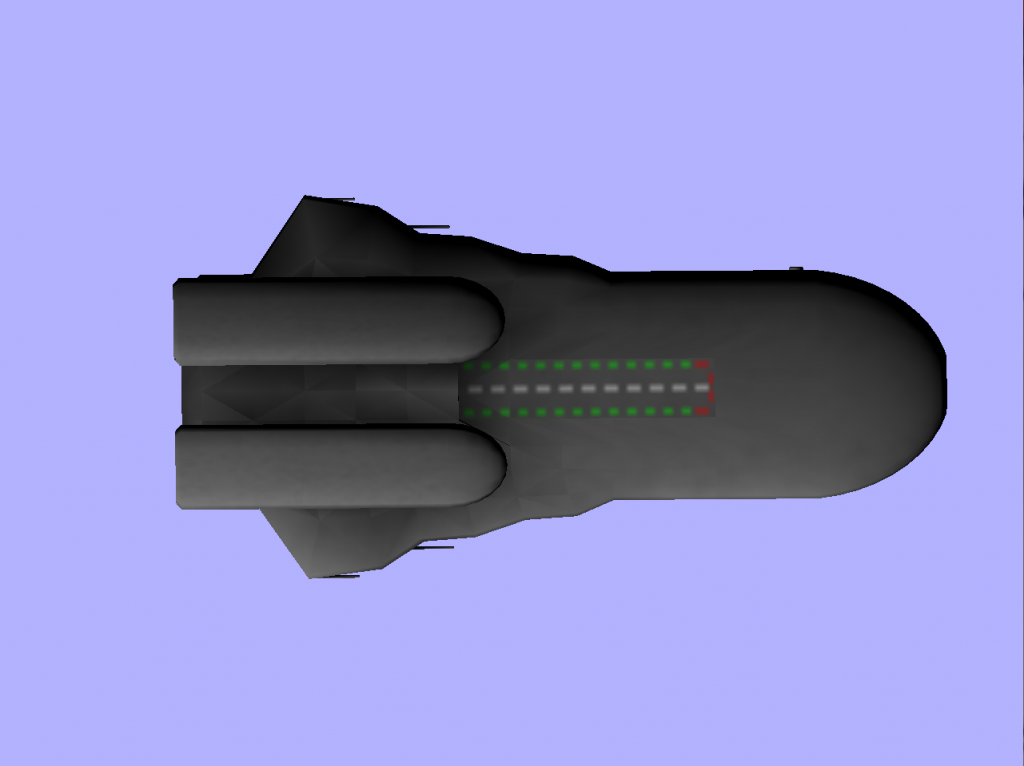
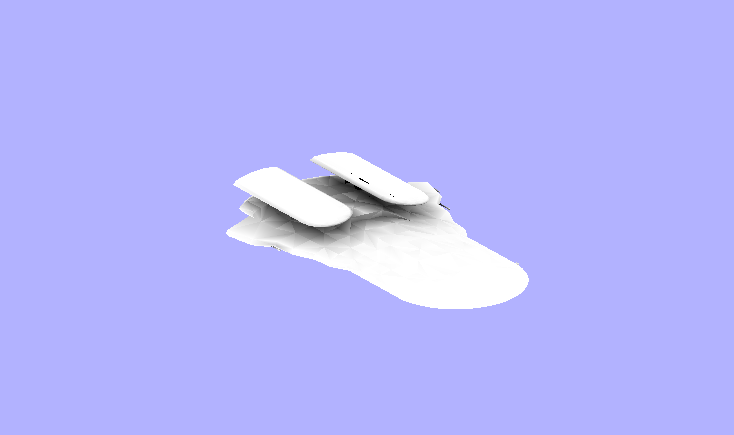
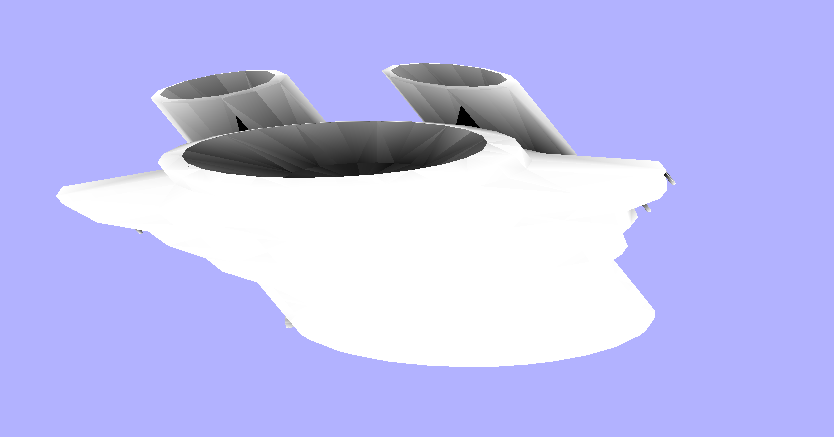
Resultant images can be seen below. As expected, the results with AO give better result. The quality can be increased by subdividing the triangles.
References